- How to Enhance an Image to 4K HDR: A Complete Guide
In today’s digital era, high-resolution images are in high demand. Whether you are a photographer, a designer, or just someone who wants to improve image quality, enhancing an image to 4K HDR (High Dynamic Range) can significantly improve its clarity, detail, and color depth. In this article, we will discuss the methods and tools you can use to enhance an image to 4K HDR effectively.
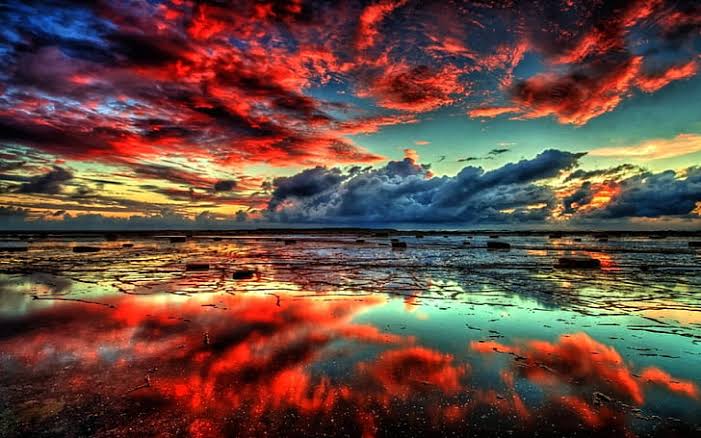
What is 4K HDR?
Before enhancing an image, it’s important to understand what 4K HDR means:
• 4K Resolution: It refers to an image with a resolution of 3840 × 2160 pixels. This is four times the resolution of Full HD (1920 × 1080 pixels), making it much sharper and more detailed.
• HDR (High Dynamic Range): This technology enhances the contrast, brightness, and color accuracy of an image, making it look more vibrant and realistic.
Methods to Enhance an Image to 4K HDR
There are several ways to upscale and enhance an image to 4K HDR:
1. Using AI-Powered Software
With advancements in Artificial Intelligence (AI), there are now many tools available that can automatically upscale images while preserving details. Some of the best AI-based software include:
• Topaz Gigapixel AI – One of the best AI-powered tools that can upscale images up to 600% without losing details. It uses machine learning to add missing pixels intelligently.
• Adobe Photoshop (Super Resolution) – Photoshop’s Super Resolution feature uses AI to enhance image resolution while maintaining sharpness and color accuracy.
• Let’s Enhance – A web-based tool that uses AI to upscale and enhance images with HDR-like effects.
• Remini – A mobile app that enhances low-quality images into high-resolution and HDR-like quality.
2. Using Photoshop for Manual Enhancement
If you prefer a manual approach, Adobe Photoshop provides powerful tools to enhance an image to 4K HDR:
Step 1: Upscale the Image
1. Open the image in Photoshop.
2. Go to Image > Image Size and set the resolution to 3840 × 2160 pixels.
3. Choose Preserve Details 2.0 to maintain sharpness while upscaling.
Step 2: Enhance Details and Sharpness
1. Use Smart Sharpen (Filter > Sharpen > Smart Sharpen) to enhance the fine details.
2. Apply High Pass Filter (Filter > Other > High Pass) to improve clarity.
Step 3: Adjust Colors for HDR Effect
1. Use Camera Raw Filter (Filter > Camera Raw Filter) to increase Highlights, Shadows, and Clarity.
2. Adjust Vibrance and Saturation to make colors pop.
3. Use Curves and Levels to refine contrast and brightness.
3. Using Online Image Upscalers
If you don’t want to install software, you can use online tools to enhance images:
• VanceAI Image Upscaler
• Fotor AI Image Enhancer
• Deep Image AI
These tools use AI to automatically upscale and enhance images in just a few clicks.
Tips for the Best 4K HDR Enhancement
• Start with a High-Quality Image – The better the original image, the better the enhancement results.
• Use AI-Based Tools for Quick Enhancement – They provide fast and effective upscaling with minimal effort.
• Manually Adjust HDR Effects if Needed – Fine-tune colors and contrast to avoid over-processing.
Website
Conclusion
Enhancing an image to 4K HDR can make a significant difference in quality, especially for photography, digital art, or professional presentations. Whether you use AI-powered tools or manual Photoshop techniques, you can achieve stunning results with the right approach. Try different methods and find the one that works best for your needs!